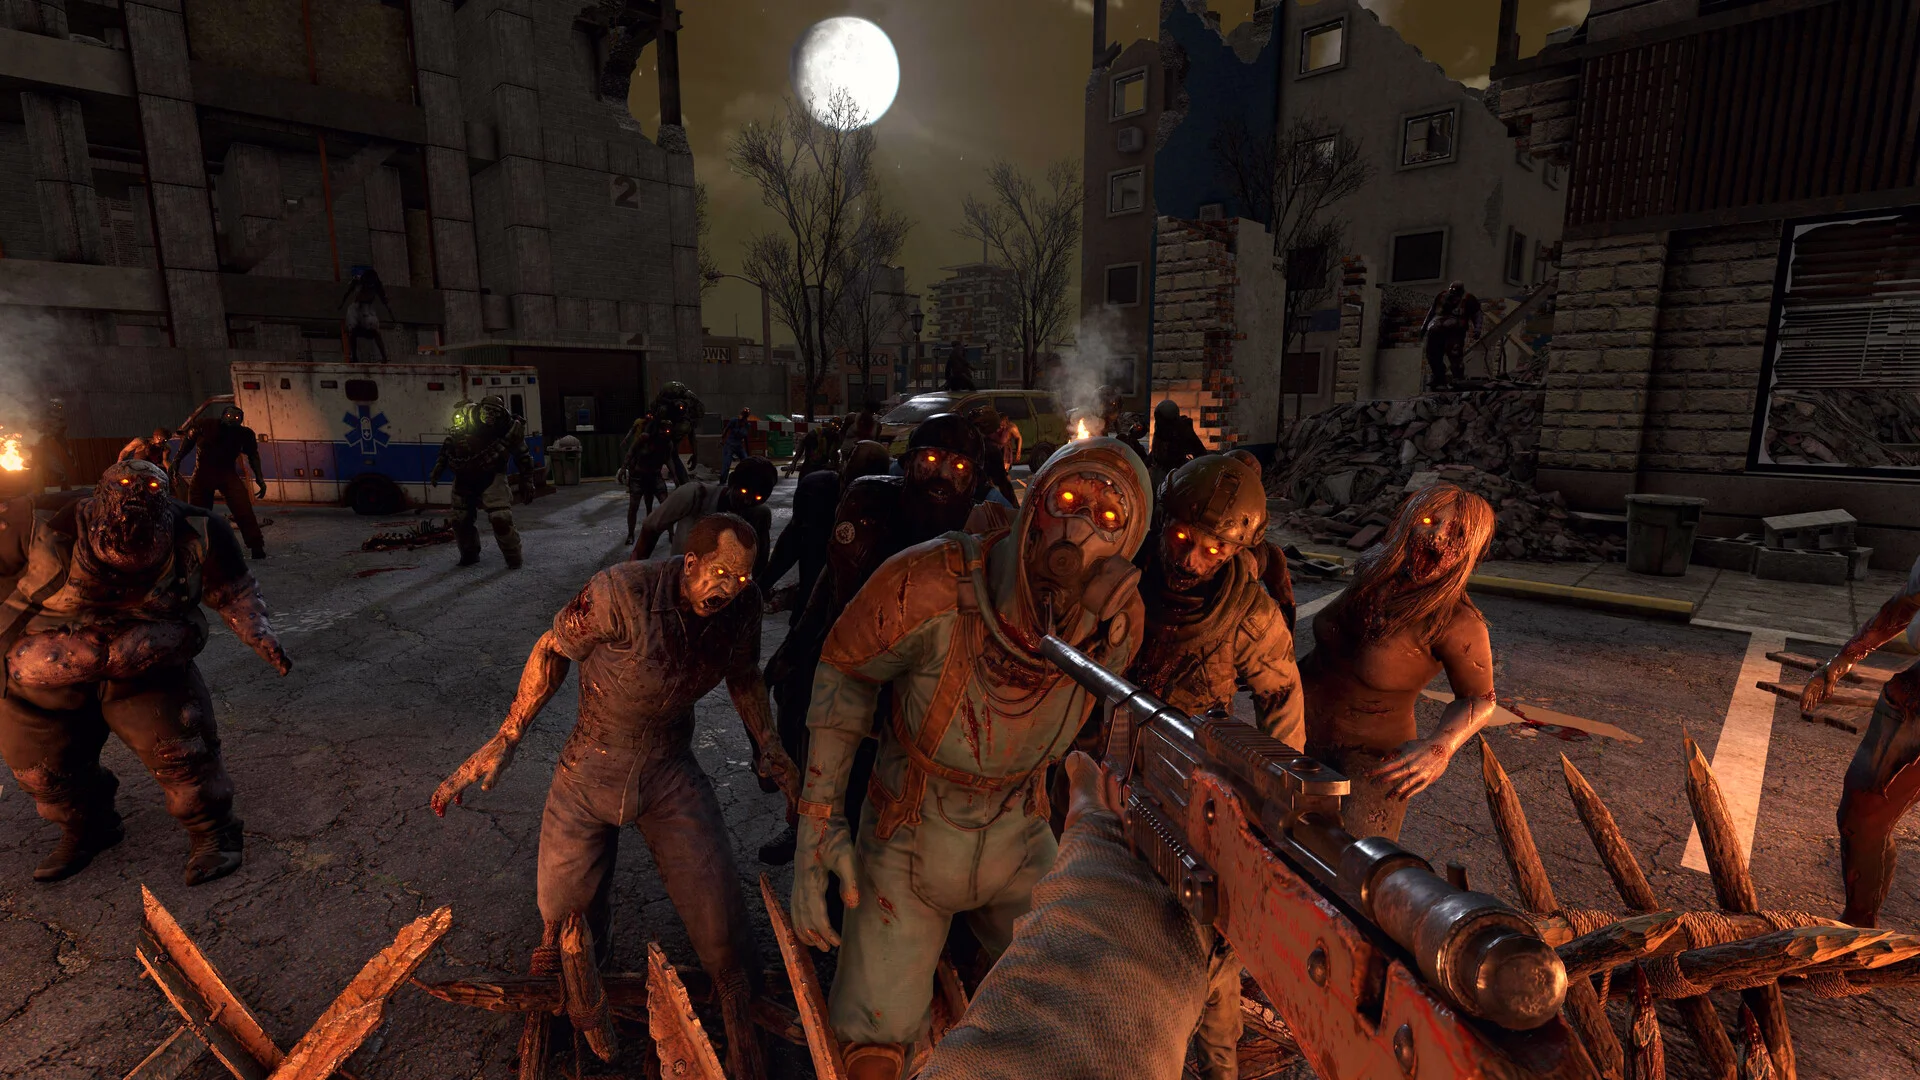
Want to explore new terrains on your 7 Days To Die server? Whether you're looking to switch to the default Navezgane map, generate a random world, or select a custom map, this guide will show you how to change maps in 7D2D.
If you're looking to upload an existing save, follow this guide. Remember, we also offer free save migrations if you need some help.
Changing Map on Your 7D2D Server
-
Log into your GhostCap panel and
Stopyour server. -
In the sidebar, go to
Server Options. -
Under
Map, edit theGame Worldoption to change the map to one of the following:- Navezgane: The default map.
- RWG: Randomly generates a new map according to the WorldGenSeed.
- Custom Folder Name: The name of the custom world folder located in
.local/share/7DaysToDie/GeneratedWorlds. - Pregen Map: The name of a pregenerated map found below, or in
Data/Worlds.
All 7D2D pregen maps:
- Pregen06k01
- Pregen06k02
- Pregen08k01
- Pregen08k02
-
Start your server.
