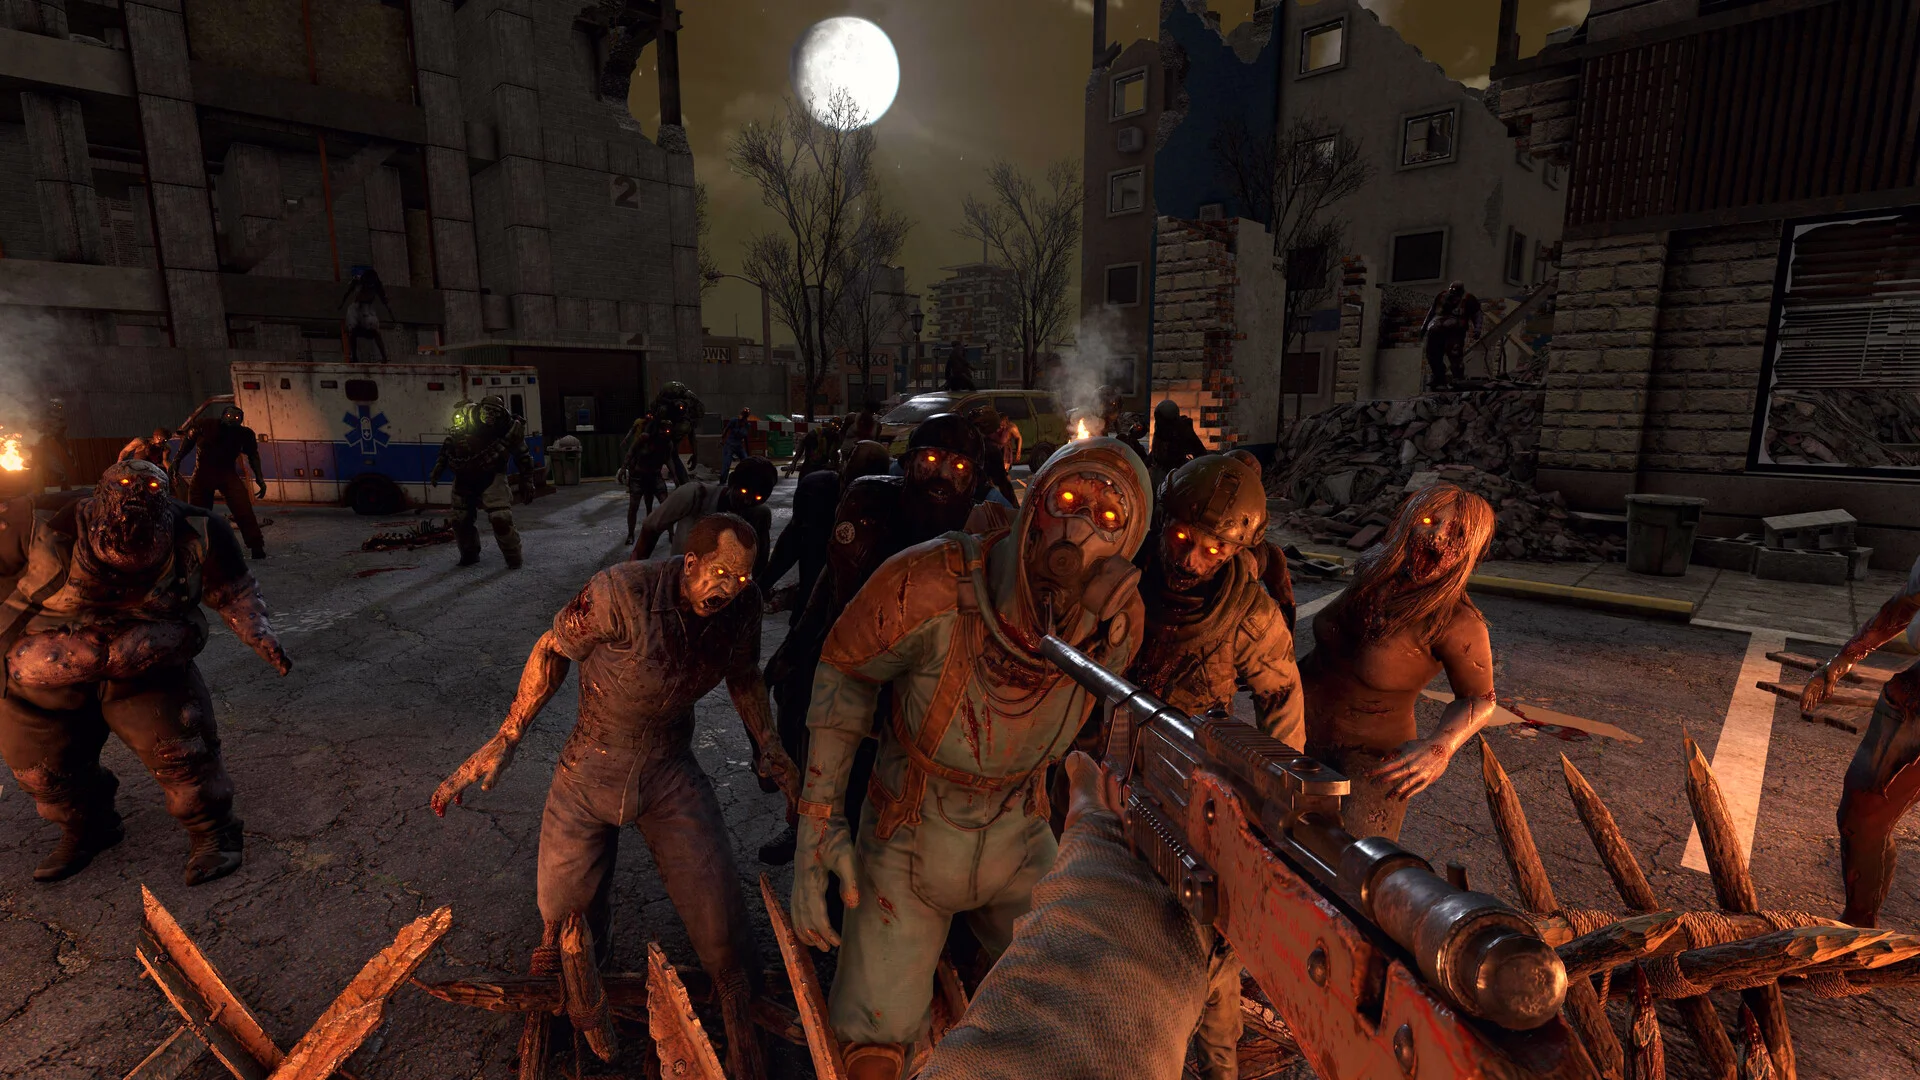
Here is how you can change your 7 Days to Die version for both your server and game client.
Change 7 Days to Die Server Version
Changing the server version is only available with 7 Days to Die Vanilla versions. As mods only work with specific versions of 7 Days to Die, we enforce those server versions for those particular mods.
- Log into your GhostCap panel and select your 7D2D server.
- In the sidebar, go to
Server Options. - Under
AdvancedLook forServer Beta Branchand replace it with the version you want to use (A list of versions is below). - In the sidebar select
Advanced > Server Actions. - Click
Reinstall Server.
Changing server versions may cause issues with your world file so make sure you always take a backup first.
Set Auto Update to Disabled, if you're choosing a branch that does not receive updates.
List of 7 Days to Die Server Versions
Here are two of the most common 7 Days to Die versions you can use:
public is always the latest game version
- public
- latest_experimental
latest_experimental may not always be available; you can confirm its availability by viewing this list of all 7 Days to Die versions here.
Change 7 Days to Die Client Version on Steam
- Right-click 7 Days to Die on Steam and select
Properties. - Go to the
Betastab. - From the dropdown menu, select the 7D2D version you want to play.
- Click ok and let Steam install the required files.
