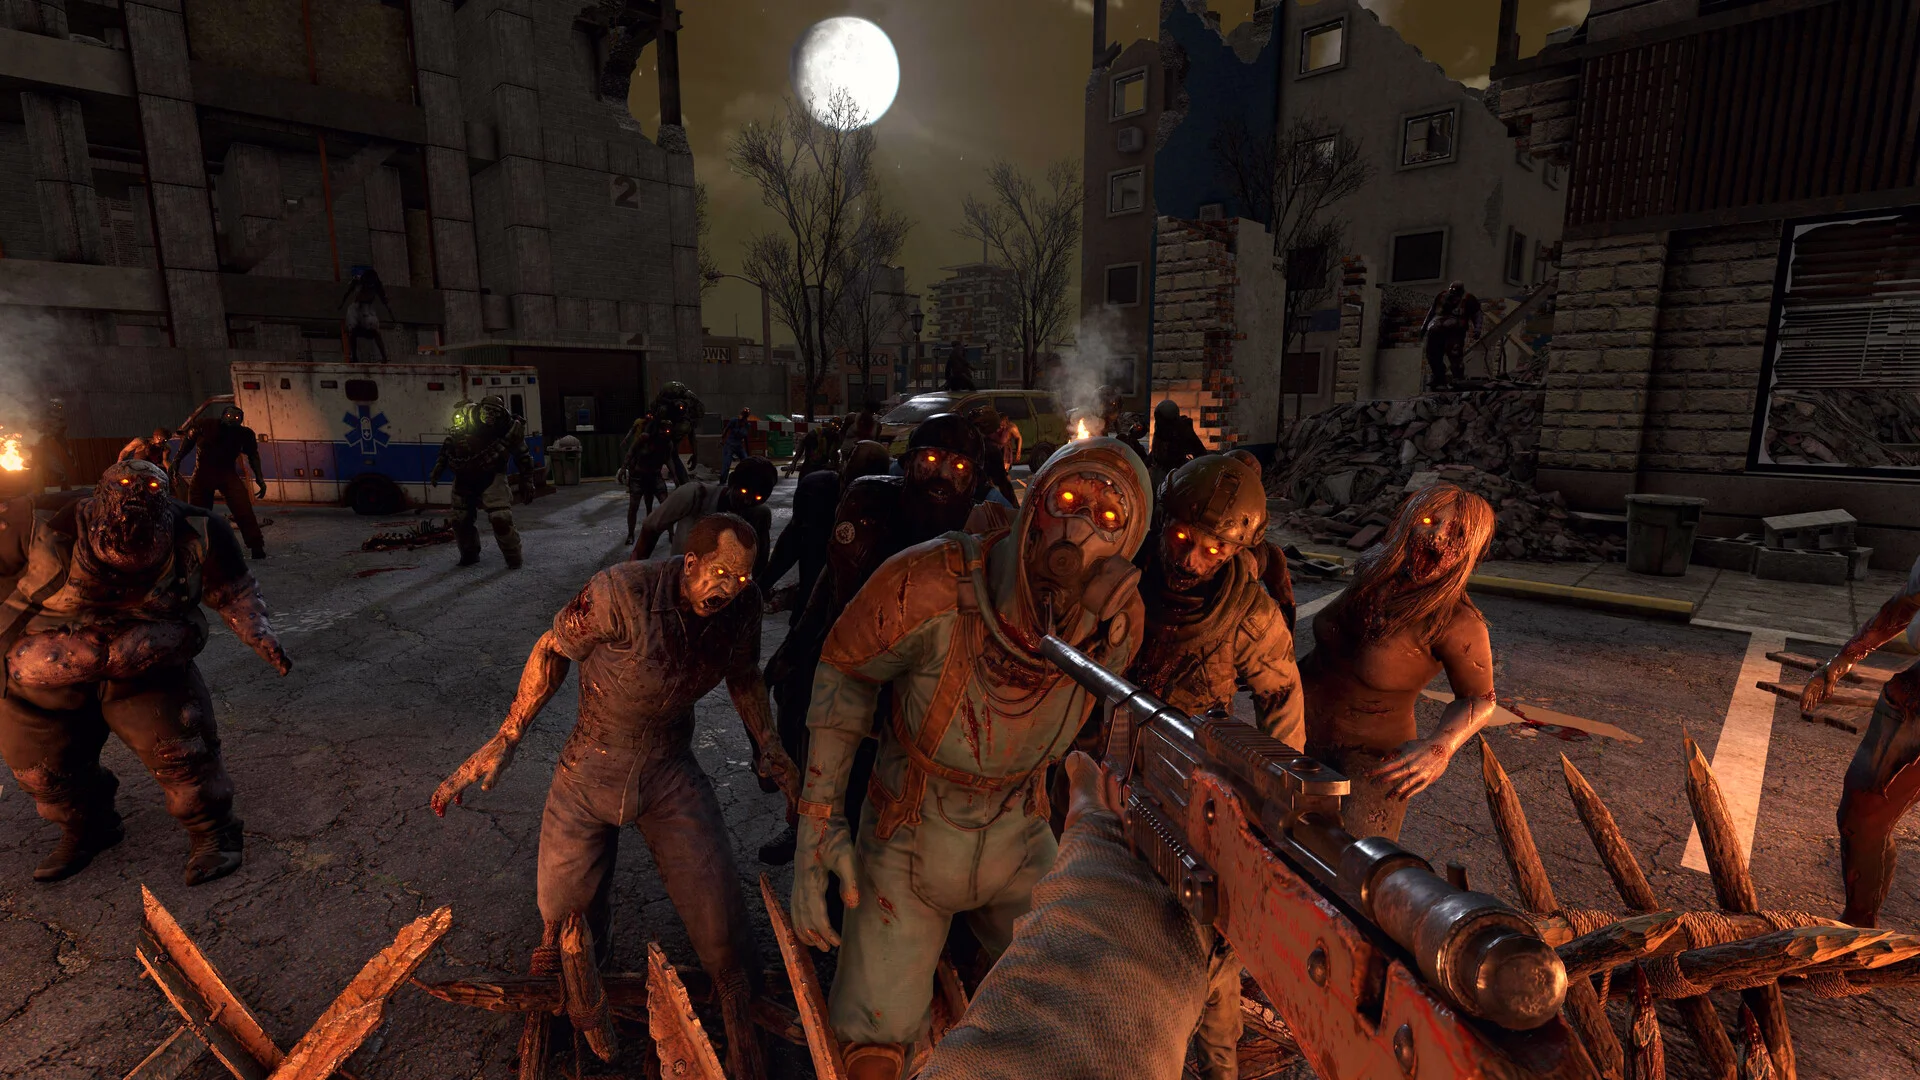
If you're getting tired of the vanilla game, you should try modded 7 Days to Die. It's a great way to experience new things and hopefully, restore the fun!
In this guide, we'll be showing you how to install mods to your server and local game client, as most mods will need to be installed on both in order to play.
Downloading Mods
Mods can be found from sites such as Nexus Mods once downloaded extract the mod file.
Make sure the mod you're installing is compatible with your 7 Days to Die server version.
Installing Mods on Your Server
-
Log in to the GhostCap Panel and select your 7 Days to Die server.
-
Go to
File Manager. -
Using SFTP, upload the extracted Mod folder into
/Mods/[ModName].-
For example, it should look like this.
- mods
- mod1
- modinfo.xml
- ..
- mod2
- modinfo.xml
- ..
- mod3
- modinfo.xml
- ..
- mod1
- mods
-
-
Restart Your Server.
Did you know? You can type version into the server console to see your server version and its loaded mods.
Installing Mods Locally on Your PC
Mods that explicitly say server-sided only will not need to be installed locally, for the rest, here's how. Do note that you may have to disable EAC Anti-Cheat on your game client to use most mods, the steps for that can be found below.
- Navigate to your game files by going to
Steam > Library > 7D2D > Manage > Browse Local Files. - Create a folder named
Mods. - Extract your downloaded mod folder into
/Mods/[ModName].-
Not to be confused with a folder sharing the name of an entire modpack, but each mod individually should be /mods/[ModName]. For example, it should look like this.
- mods
- mod1
- modinfo.xml
- ..
- mod2
- modinfo.xml
- ..
- mod3
- modinfo.xml
- ..
- mod1
- mods
-
You only need to install the extracted folder which directly contains modinfo.xml and its other files.
Disabling EAC Anti-Cheat Client and Server
Mods will let you know if you need to disable EAC Anti-Cheat when launching the game, follow these steps to disable EAC Anti-Cheat and successfully load your mods.
Disabling EAC for Your Game Client
- Open Steam.
- Go to
Library. - Click
Playon 7 Days to Die. - Select
Launch game without EAC.
If you don't get a launch prompt after clicking play, you'll have to enable it again. You can do that like this:
- Open Steam.
- Go to
Library. - Right-click 7 Days to Die and select
Properties. - Under
General, findSelected Launch Optionand set it toAsk when starting game. - Click
Playon 7 Days to Die and chooseLaunch game without EAC.
Disabling EAC for Your 7 Days to Die Server
If a mod requires you to disable EAC Anti-Cheat on your client, here's how you disable it on your server as well.
- Log in to the GhostCap Panel and select your 7 Days to Die server.
- In the sidebar, go to
Server Options. - Under
AdvancedSetEAC (Easy Anti Cheat)toFalse. - Restart your server.
And there you have it, that's how you install mods and disable EAC Anti-Cheat on your 7 Days to Die server.
If you get stuck at any time, you can reach out to us on Discord.