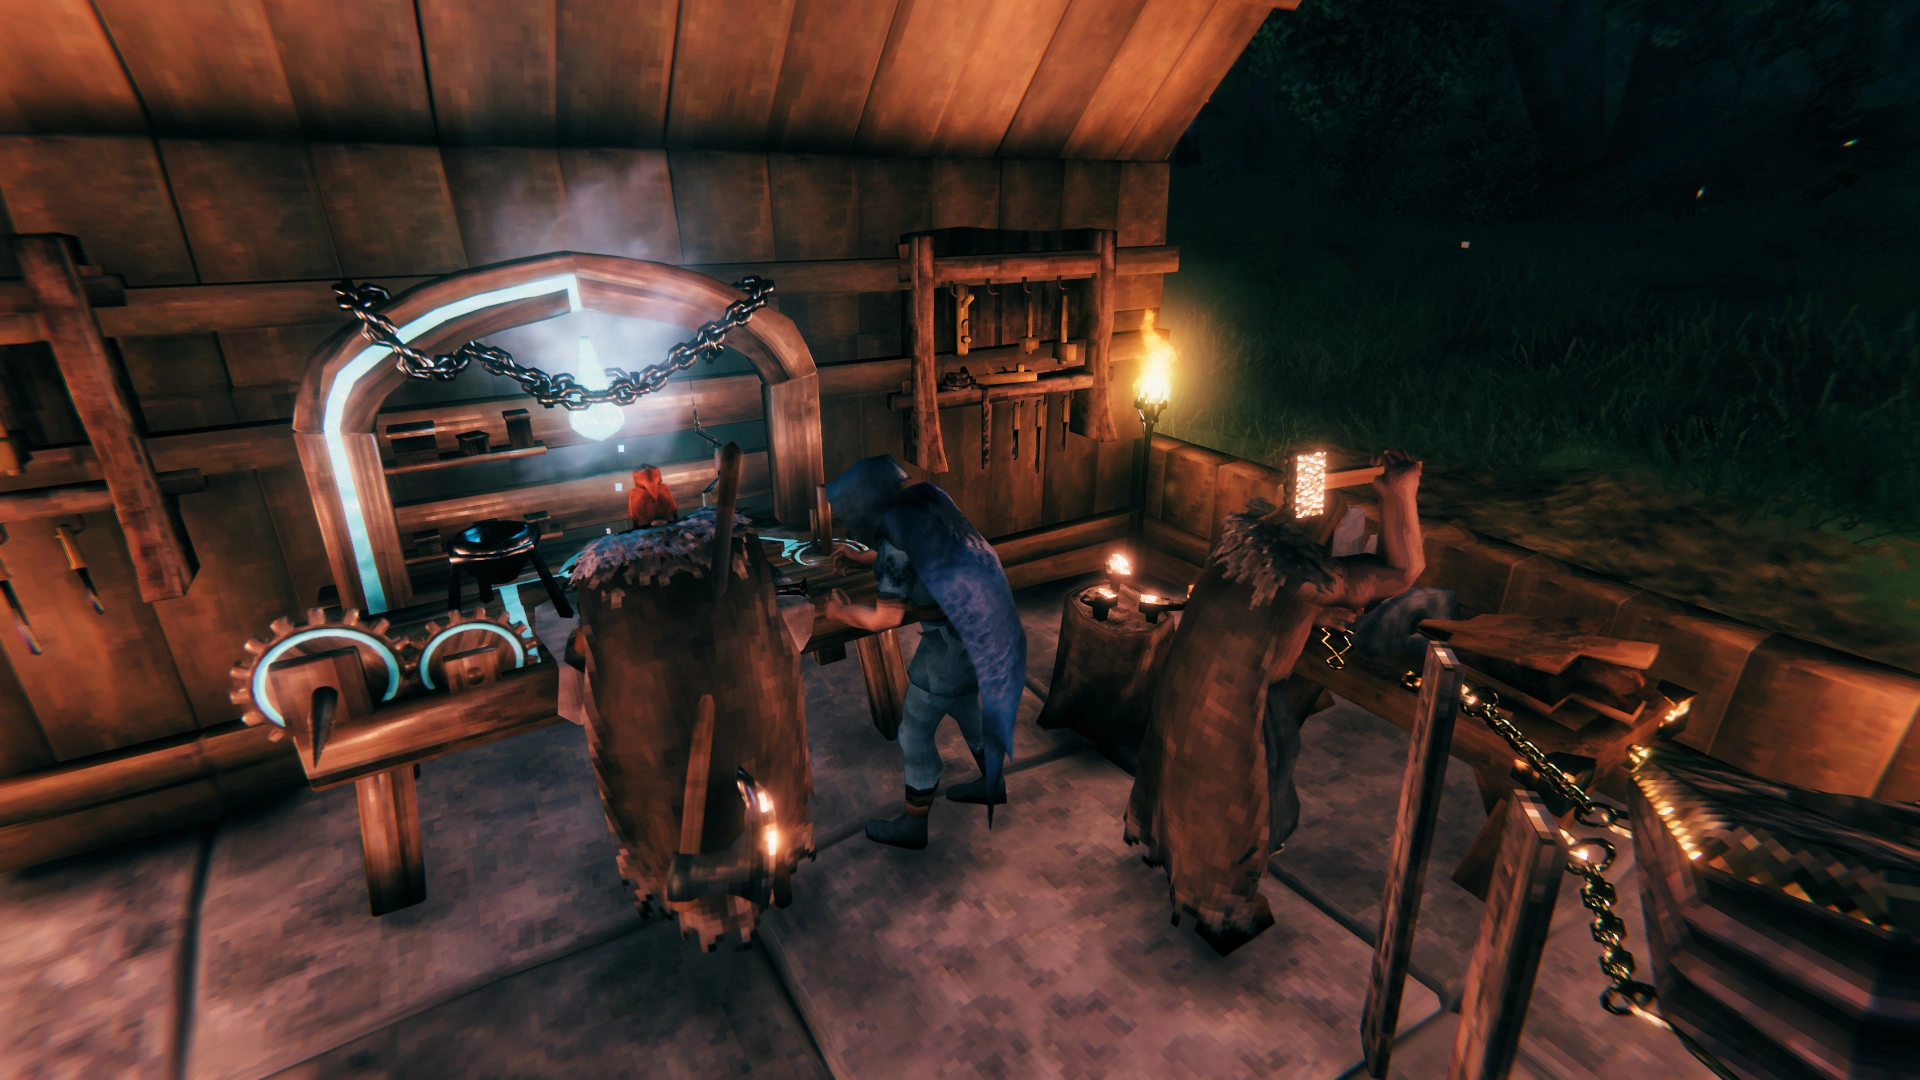
In this guide, you will learn how to install mods and plugins on your Valheim server using BepInEx.
Some mods need to be installed on your local game client too. We suggest using r2modman to toggle your mods and BepInEx on and off.
Installing BepInEx
Before installing any mods or plugins, you must first install BepInEx.
- Log in to the GhostCap Panel and select your Valheim server.
- In the sidebar, navigate to
Tools > Mod Manager. - Locate BepInEx and click
Install. - Restart your server.
If the mods you install are also required on clients, players on Xbox will no longer be able to connect to your Valheim server.
How to update BepInEx
To update BepInEx, simply follow the above process again but click Uninstall and then Install again. This will install a fresh copy of BepInEx and update it.
Installing Plugins
Once BepInEx is installed, you can now add the plugins you wish. We suggest downloading them from Thunderstore. You will also need to know how to upload files to your game server..
- Log in to the GhostCap Panel and
Stopyour Valheim server. - Download the plugin you want from Thunderstore, right click, and extract it.
- Access your Valheim server using SFTP.
- Navigate to
BepInEx/pluginsand upload your extracted plugin folder. - Start your server.
Here's what your server should typically look like after installing plugins:
BepInEx
└── plugins
    ├── OdinPlus-GoodestBoy
    │   └── GoodestBoy.dll
    ├── Azumatt-AzuExtendedPlayerInventory
    │   └── AzuExtendedPlayerInventory.dll
    └── Therzie-Warfare
        └── Warfare.dll