
If you searched for a Pterodactyl install script, here it is up front: one command installs the Panel, Wings, and all dependencies on a fresh Linux server. This guide covers the verified command (June 2026), the operating systems it supports, what to answer at each prompt, and how to fix common errors.
Pterodactyl Install Script (One-Line Auto Installer)
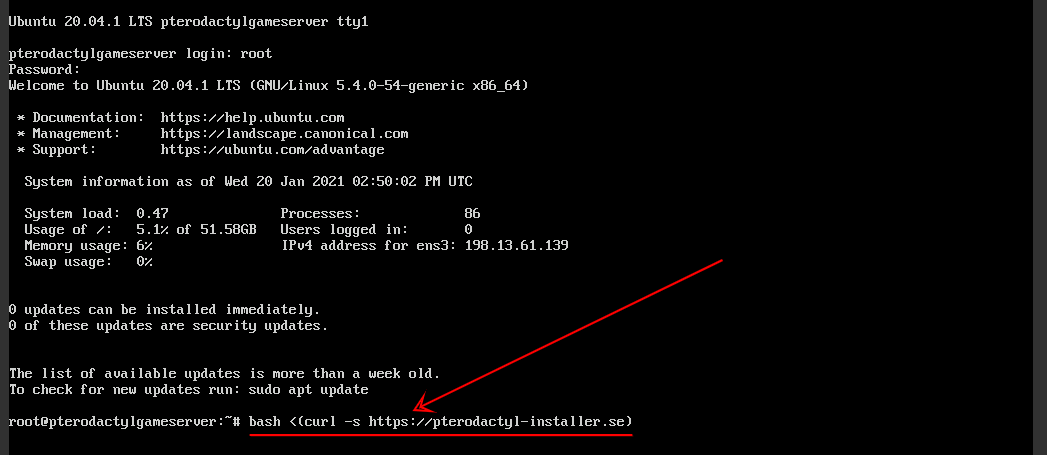
Log in to your server as root and paste this command:
bash <(curl -s https://pterodactyl-installer.se)
That is the official one-liner from the pterodactyl-installer GitHub project, an open-source community script originally created by Vilhelm Prytz. It is unofficial (not made by the Pterodactyl team) but actively maintained and used by thousands of server admins. The script installs PHP 8.3, MariaDB, NGINX, Redis, Docker, and the latest Pterodactyl release (Panel v1.12.4 as of June 2026), and can configure UFW firewall rules and a free Let's Encrypt SSL certificate.
When the menu appears, choose option 2 to install both the Panel and Wings on the same machine. This is the right choice for almost everyone running a single server.
Requirements Before You Run The Script
Your server must have a fresh operating system install. Existing web servers, control panels, or games will conflict with the script, so reinstall the OS first if anything else is on the machine. You also need root access and at least 2 GB of RAM for the panel itself, plus whatever your game servers need.
The script supports the following operating systems:
| Operating System | Version | Supported |
|---|---|---|
| Ubuntu | 22.04 | ✅ |
| 24.04 | ✅ | |
| 26.04 | ✅ | |
| Debian | 10 | ✅ |
| 11 | ✅ | |
| 12 | ✅ | |
| 13 | ✅ | |
| Rocky Linux | 8 | ✅ |
| 9 | ✅ | |
| AlmaLinux | 8 | ✅ |
| 9 | ✅ |
Older releases like Ubuntu 20.04 and all CentOS versions are no longer supported by the script. We recommend Ubuntu 24.04 LTS: it receives security updates until 2029 and has the largest community if you need help.
What Is Pterodactyl Panel?
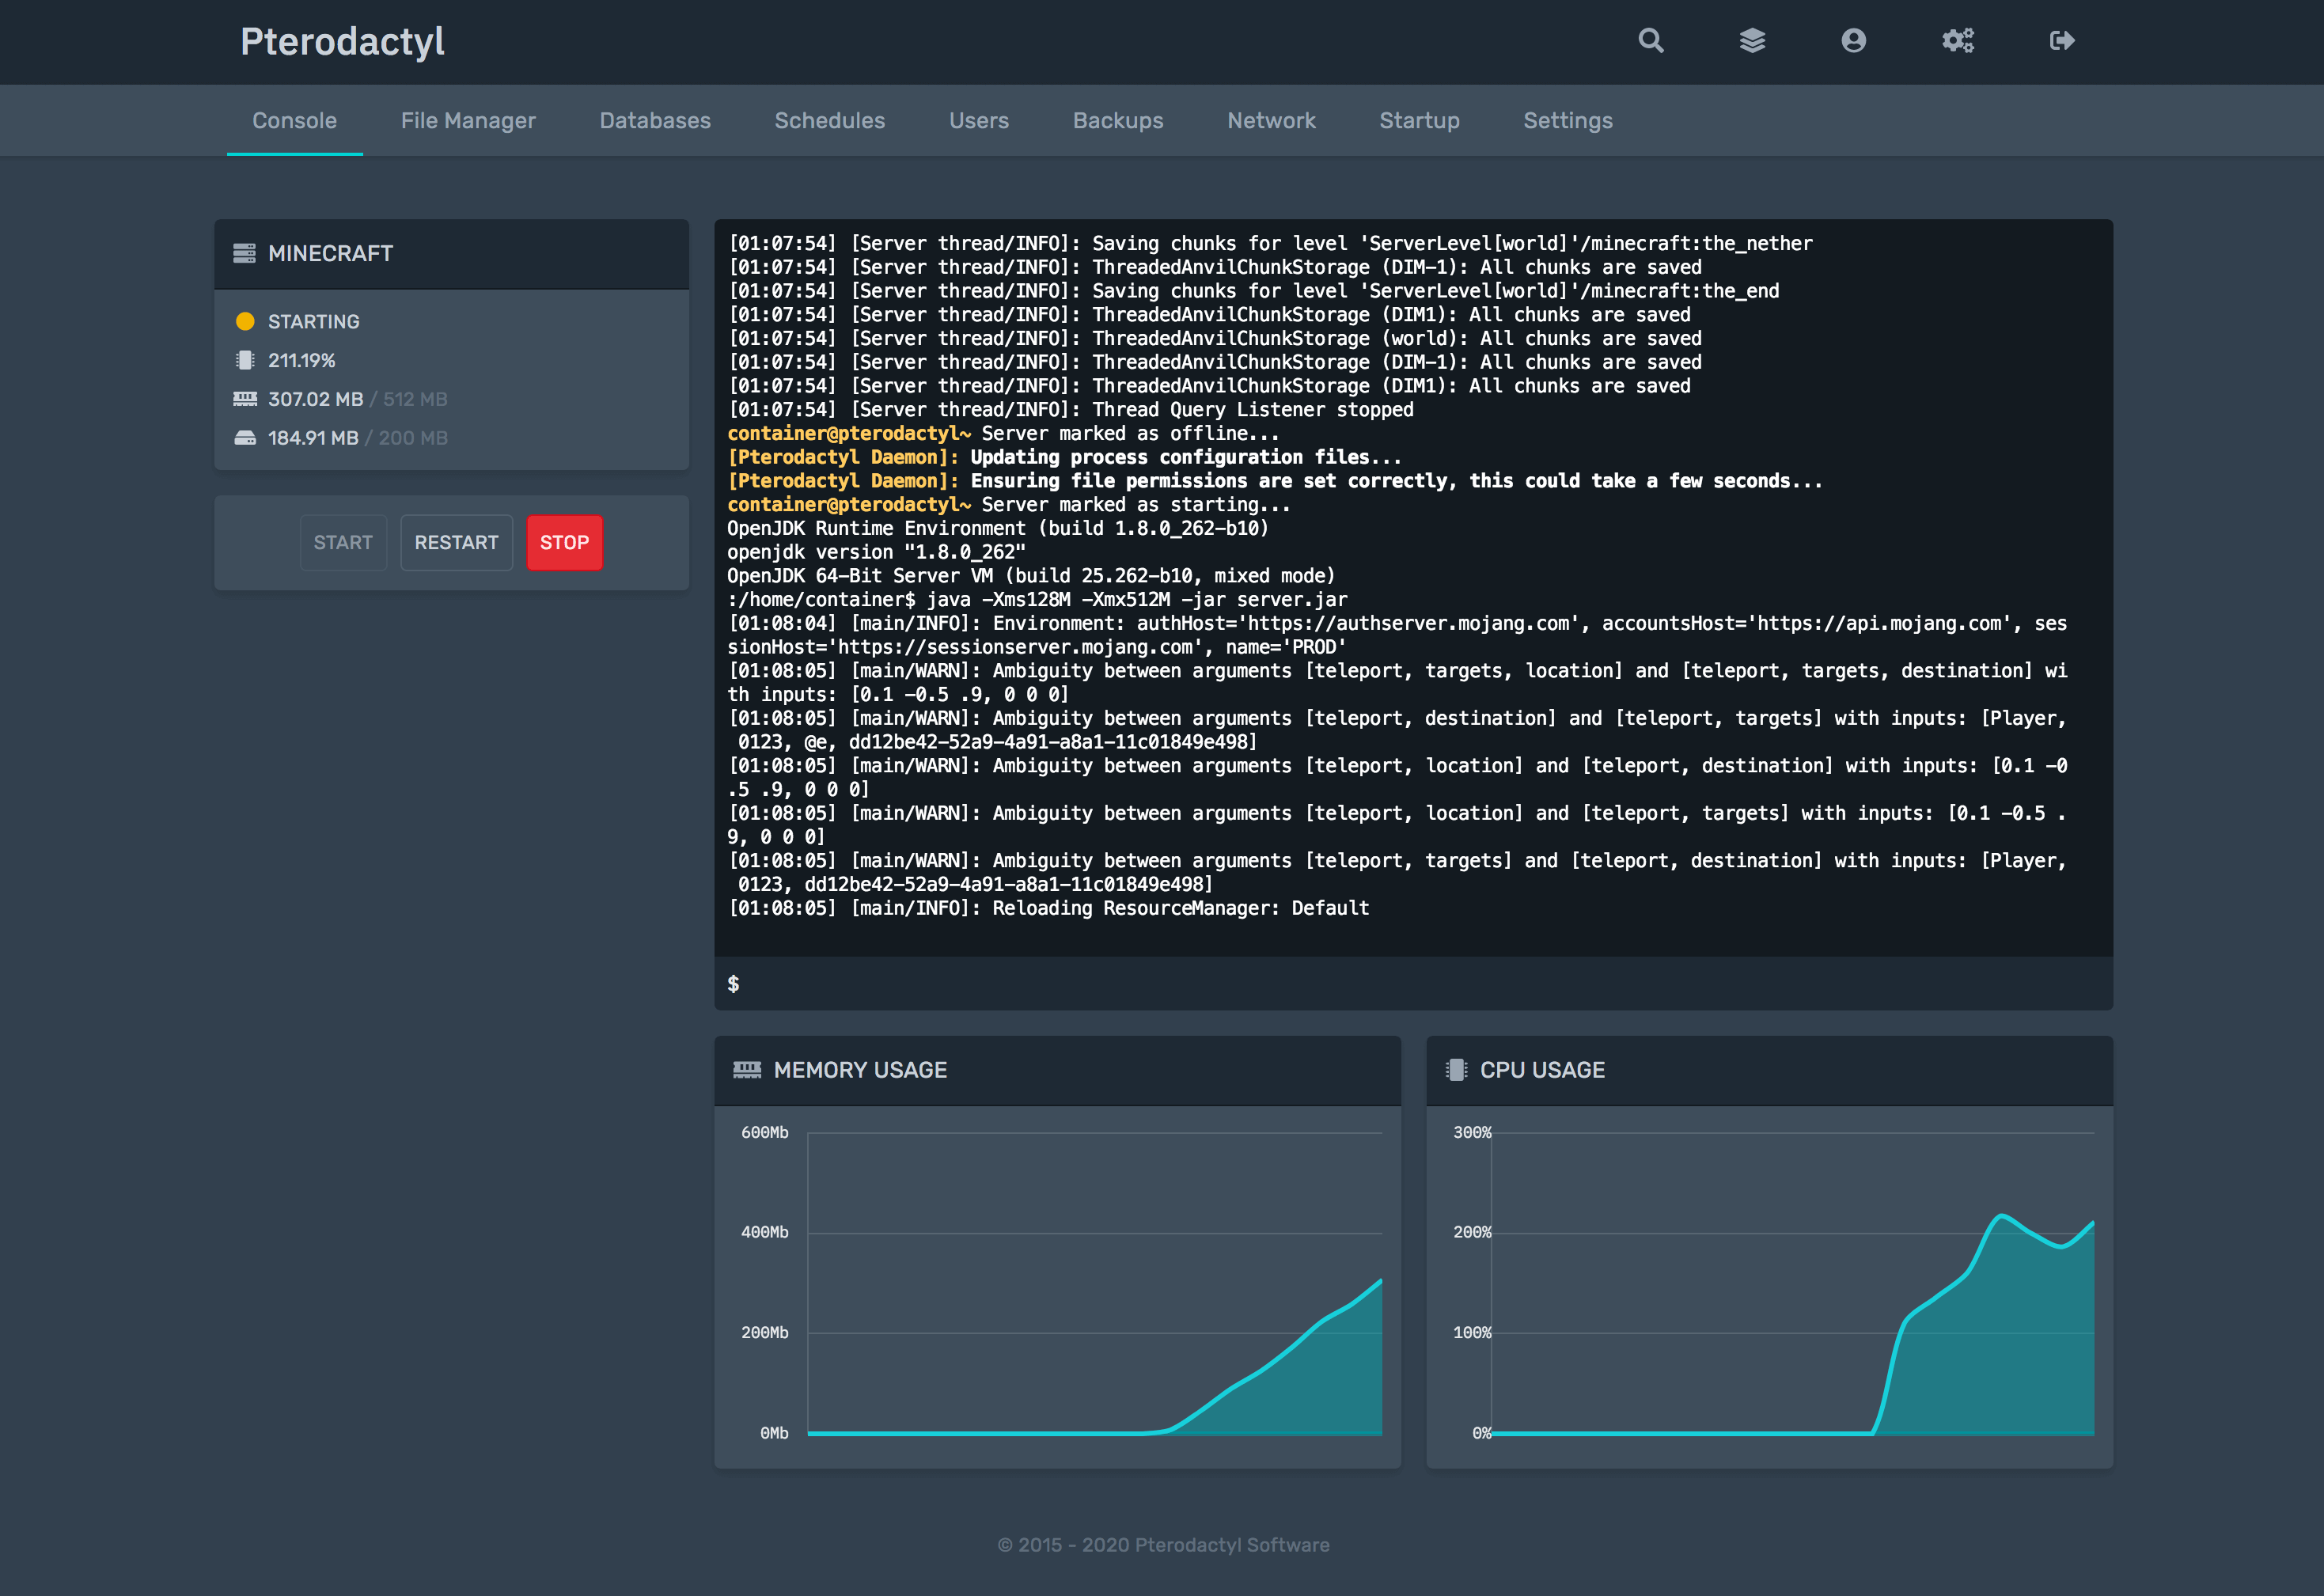
Pterodactyl Panel is a free, open-source game server management panel that runs every game server in an isolated Docker container. You manage all your servers from one modern web interface instead of juggling screen sessions or Windows consoles. Its "eggs" system makes it easy to add support for almost any game, and it consistently ranks at the top of our game server control panel comparison.
Step-By-Step: Running The Install Script
Already have a fresh Linux server? Start here. If you still need a VPS, skip down to the server setup section and come back.
Step 1: Run the install script
SSH into your server as root, then paste the command and press Enter:
bash <(curl -s https://pterodactyl-installer.se)
Step 2: Choose what to install
Select option 2 to install both the Panel and Wings. The Panel is the web interface; Wings is the daemon that actually runs your game servers inside Docker. Installing both on one machine is the standard single-server setup.
Step 3: Fill out the prompts
The script asks a series of questions. Safe answers for a typical install:
- Database name, username, password: press Enter for defaults, set a strong DB password
- Timezone: enter yours, e.g.
Australia/Perth - Email address: used for the admin account and SSL certificate
- Admin username and password: these are your panel login details
- FQDN: enter your domain (e.g.
panel.example.com), or your server's IP if you have no domain - Configure firewall (UFW): Yes
- Configure HTTPS with Let's Encrypt: Yes if you entered a domain, No if you used an IP
Type Y to confirm and let it run. The full Panel plus Wings installation takes about 10-15 minutes.

Step 4: Log in to Pterodactyl
Enter your domain (or server IP) in your browser. You should see the Pterodactyl login screen; sign in with the admin username and password you set during the script.
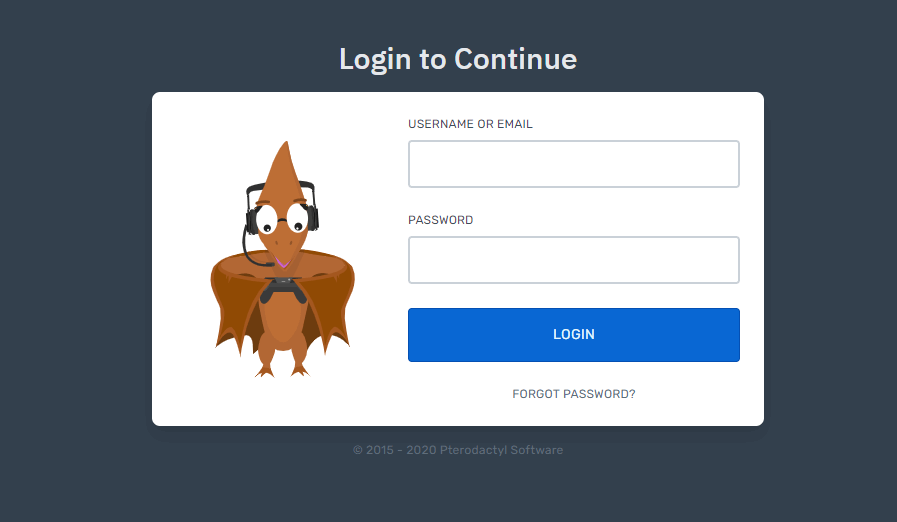
If the page does not load, see the troubleshooting section below before reinstalling anything.
How To Add A Node To Pterodactyl Panel
A node is Pterodactyl's term for a machine that runs game servers via Wings. Even though the script installed Wings for you, you still need to create the node in the panel, paste its config into /etc/pterodactyl/config.yml, and allocate ports. The video below walks through the whole process.
Once your node shows a green heartbeat, you can create your first game server. Our Minecraft server setup guide is a good first project.
Need A Server First? Quick VPS Setup
Any provider works, but avoid hosts that pre-install software on their OS images, because the script needs a clean system. We use Vultr in our videos for its clean images and consistent performance.
Vultr
Vultr offers high-performance cloud compute instances perfect for gaming servers with locations worldwide.
- Wide global coverage
- Competitive pricing
- Good performance
- Reliable uptime
- Limited support options
- Basic control panel

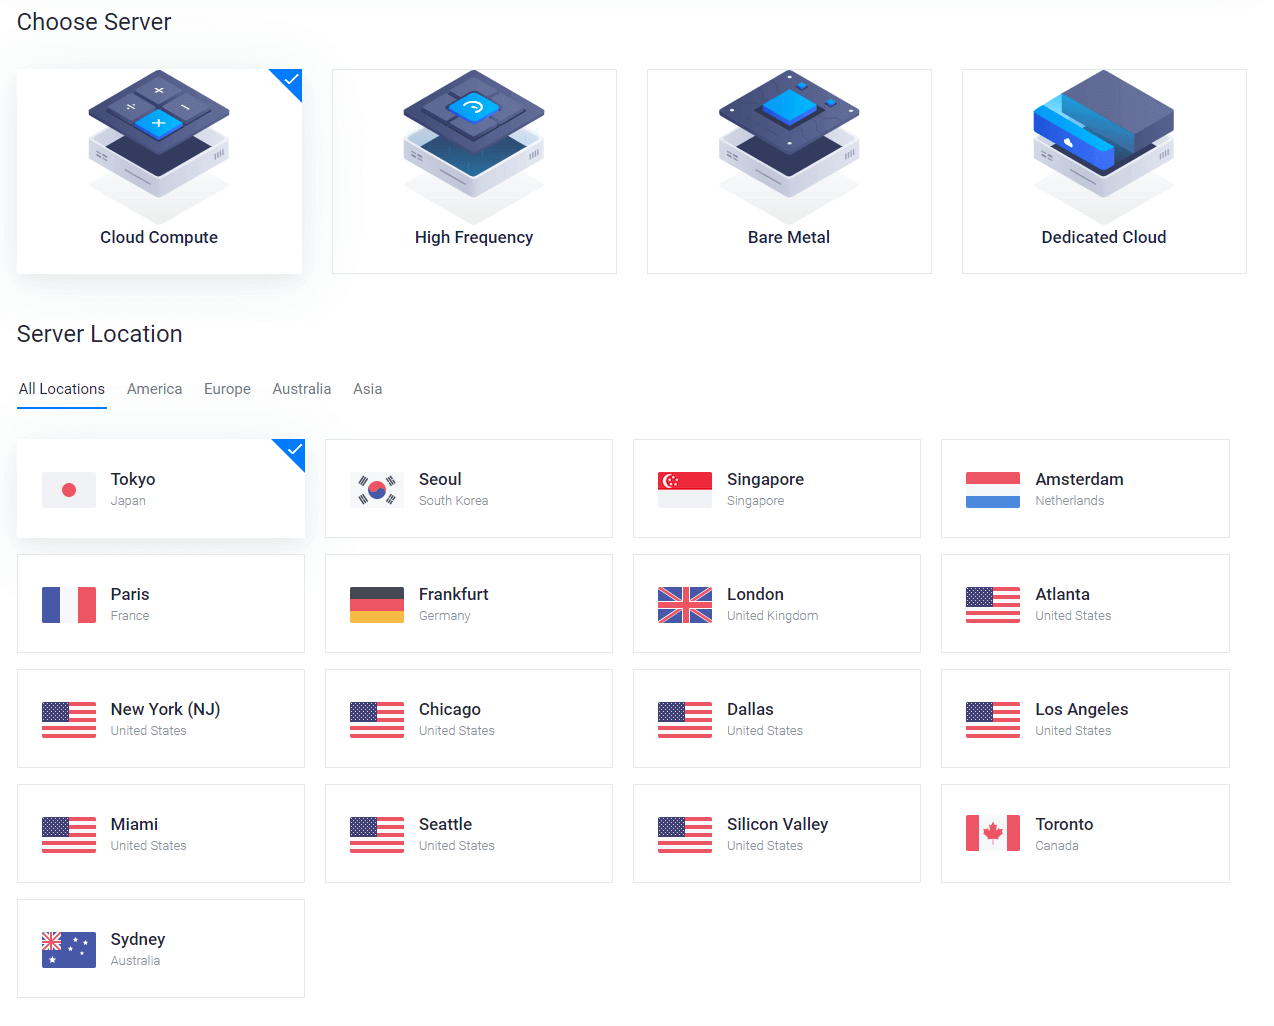
Setup takes five minutes: sign up at Vultr.com, click Deploy, and pick Cloud Compute or High Frequency.

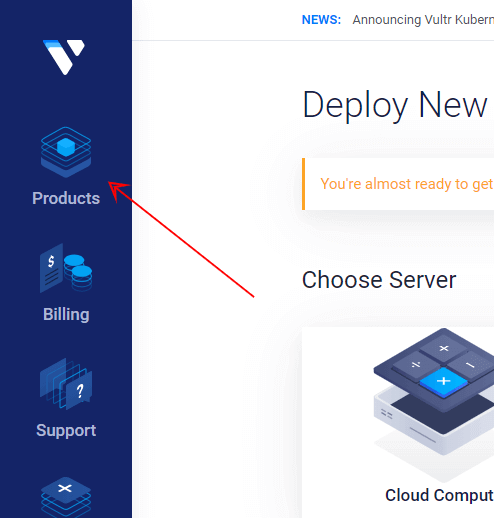
Choose a location close to your players for the lowest ping.
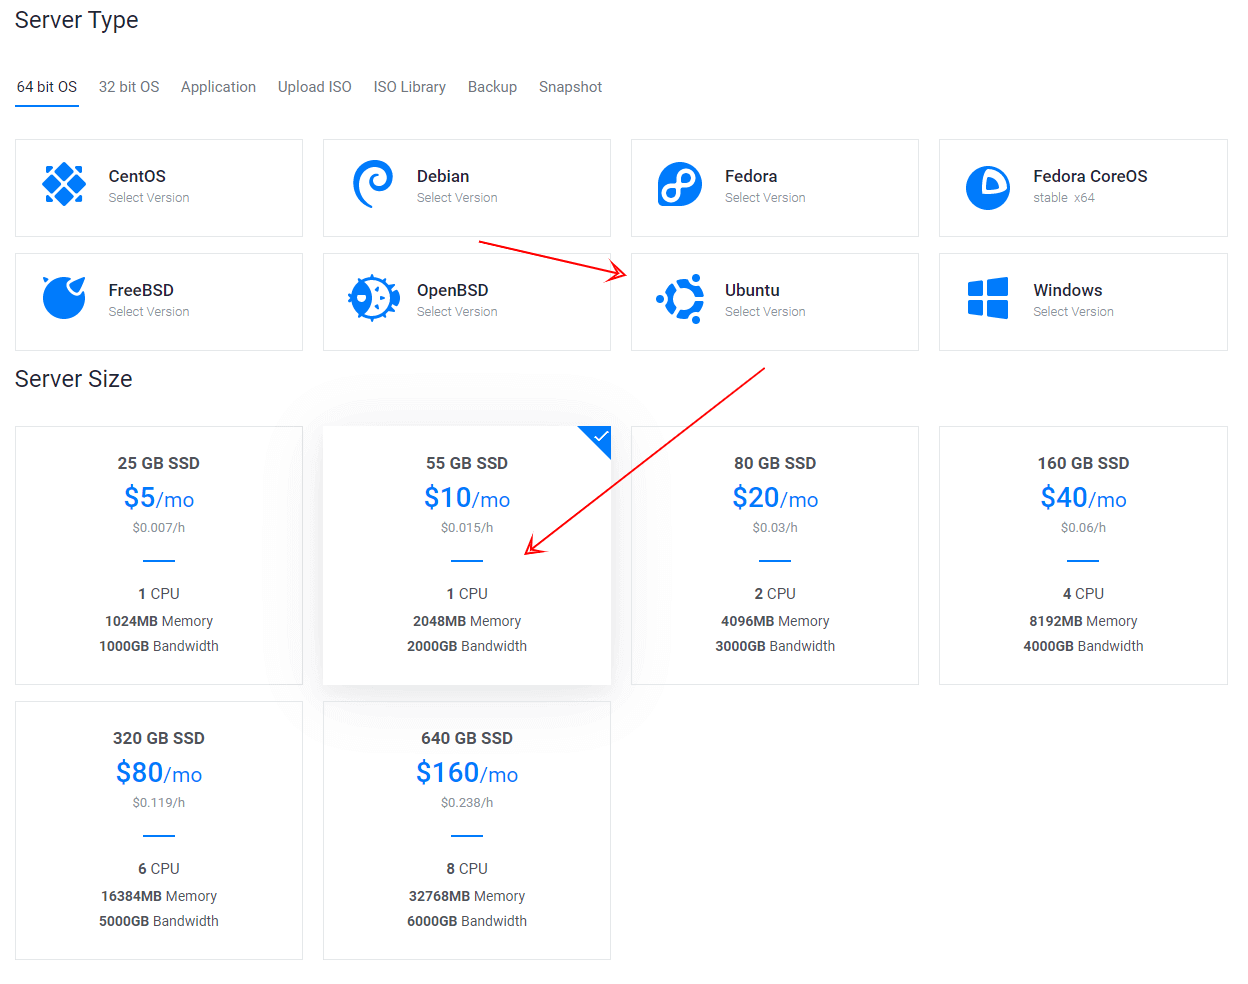
For the operating system, select Ubuntu 24.04 LTS. Size the server for the games you plan to host; a 55 GB plan comfortably runs a small Minecraft server plus a few Discord bots.
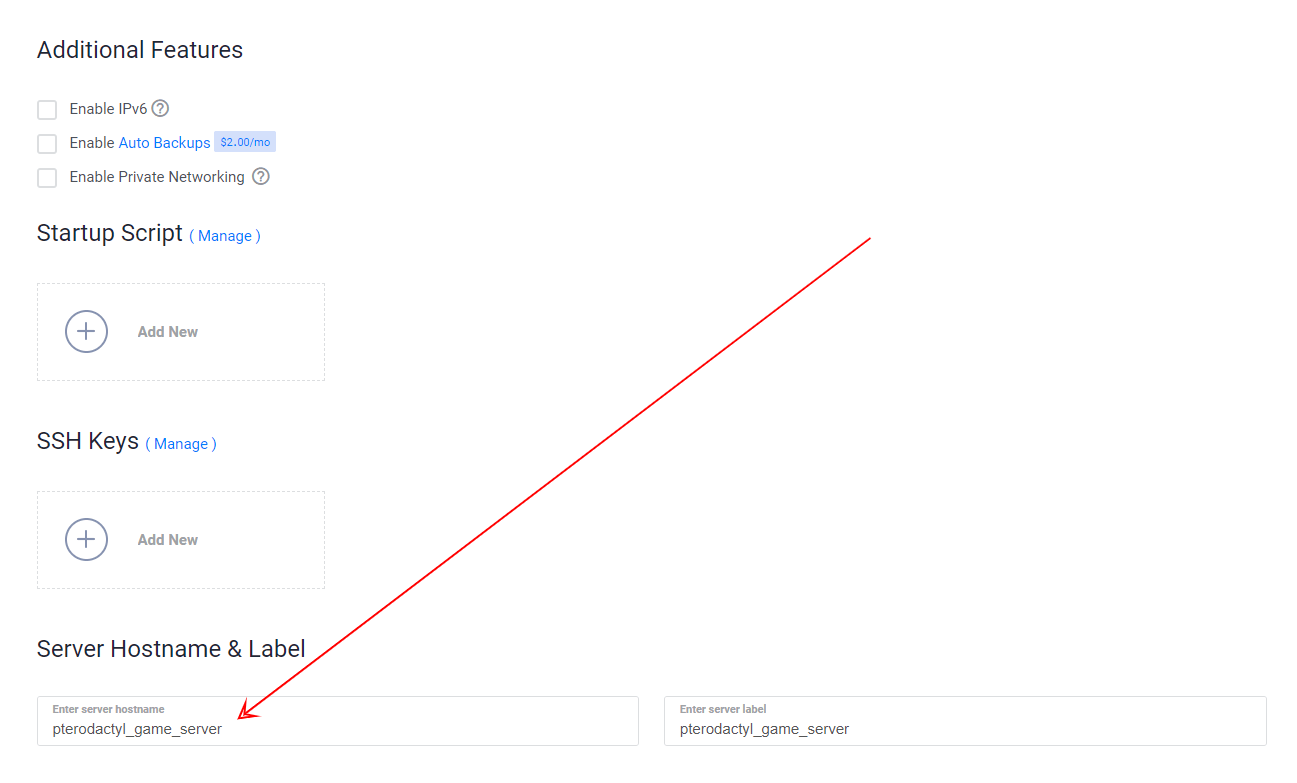
Enter a hostname and click Deploy.
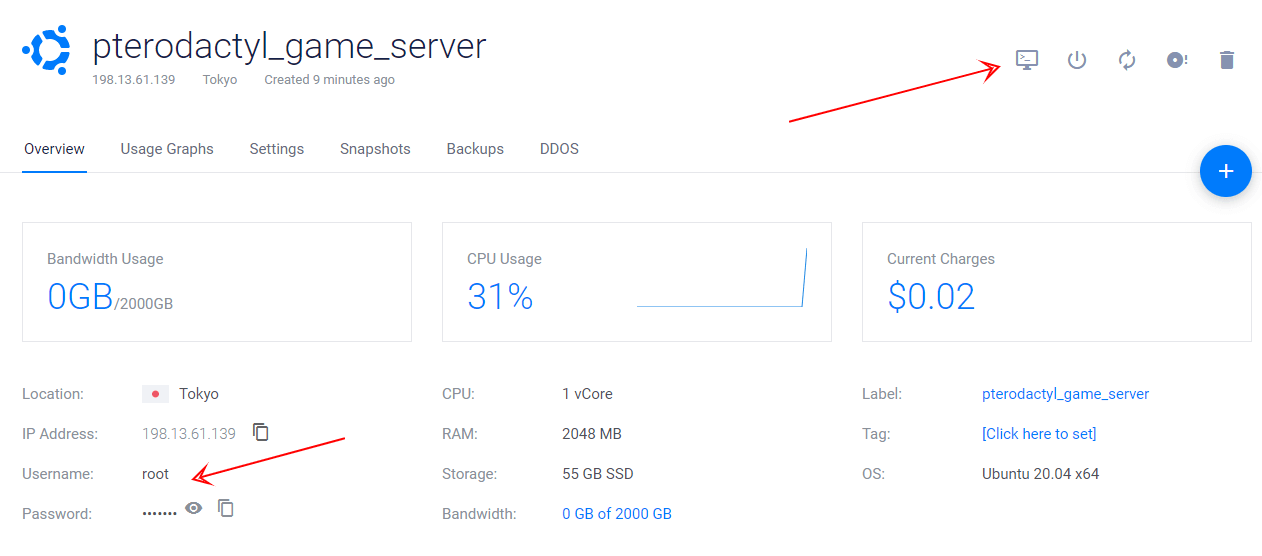
Wait until the instance shows Running, then grab the IP, username, and password from the server page.
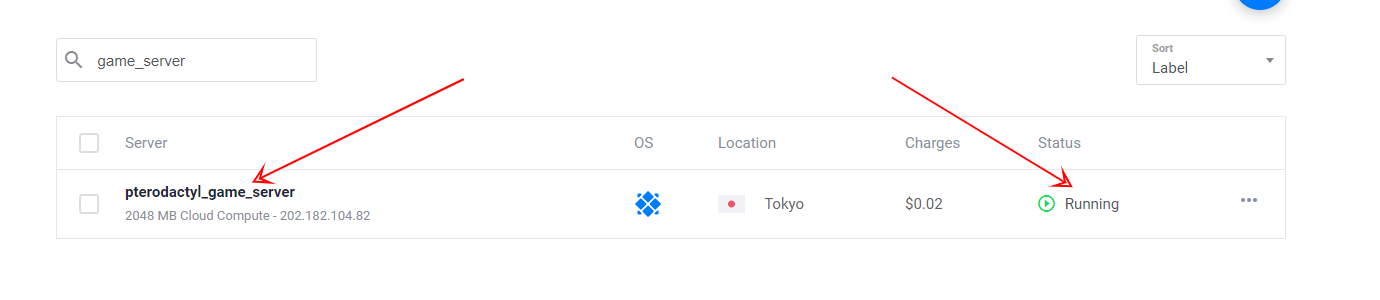
Click "Open console" (or use any SSH client) and log in as root with the password shown.

You are now ready to run the install script from Step 1 above.
Manual Installation (Without The Script)
If you prefer full control, Pterodactyl can be installed by hand following the official getting started documentation. You install and configure PHP 8.3, Composer, MariaDB, Redis, and NGINX yourself, then download the panel, run database migrations, and set up the queue worker and cron job. Budget 30-60 minutes and basic Linux comfort.
The end result is identical to the script install. The script simply automates the same official steps, which is why we recommend it for most people.
Troubleshooting Common Install Script Errors
"Unsupported OS" error. Your distro or version is not on the supported list above. Reinstall with Ubuntu 24.04 and run the script again.
Panel page will not load after install. Check that NGINX and PHP are running with systemctl status nginx and systemctl status php8.3-fpm. If you chose HTTPS but your domain's DNS was not pointing at the server yet, the Let's Encrypt step failed; fix the DNS A record and re-run certbot.
Let's Encrypt fails on an IP address. SSL certificates require a real domain. Re-run with HTTPS set to No, or add a domain and point it at your server first.
Wings will not connect or node shows red heartbeat. Make sure ports 8080 and 2022 are open in your firewall and that you pasted the node config into /etc/pterodactyl/config.yml before running systemctl restart wings.
Script fails mid-install. The most common cause is a non-fresh OS with conflicting packages. Reinstall the operating system and start over rather than patching a half-finished install.
Is Pterodactyl Still Maintained In 2026?
Short answer: yes, but development has slowed. Pterodactyl shipped Panel v1.12.4 and Wings v1.12.3 in May 2026, so it still receives bug fixes and security patches, and it remains a safe choice in production. However, most new feature work now happens in Pelican Panel, a community fork started in 2024 that uses the same egg format.
The install script tracks the latest stable Pterodactyl release, so everything in this guide works today. If you are evaluating alternatives before committing, our game server control panels comparison covers Pterodactyl, Pelican, and the other major options.
Conclusion
The one-line install script is the fastest way to get Pterodactyl running: one command, 10-15 minutes, and a working Panel plus Wings on Ubuntu 24.04. From here, add your node, then make the panel yours with our favorite Pterodactyl themes.
If anything goes wrong, screenshot your console output and ask in our Discord. We help people set up game servers on Pterodactyl every week.