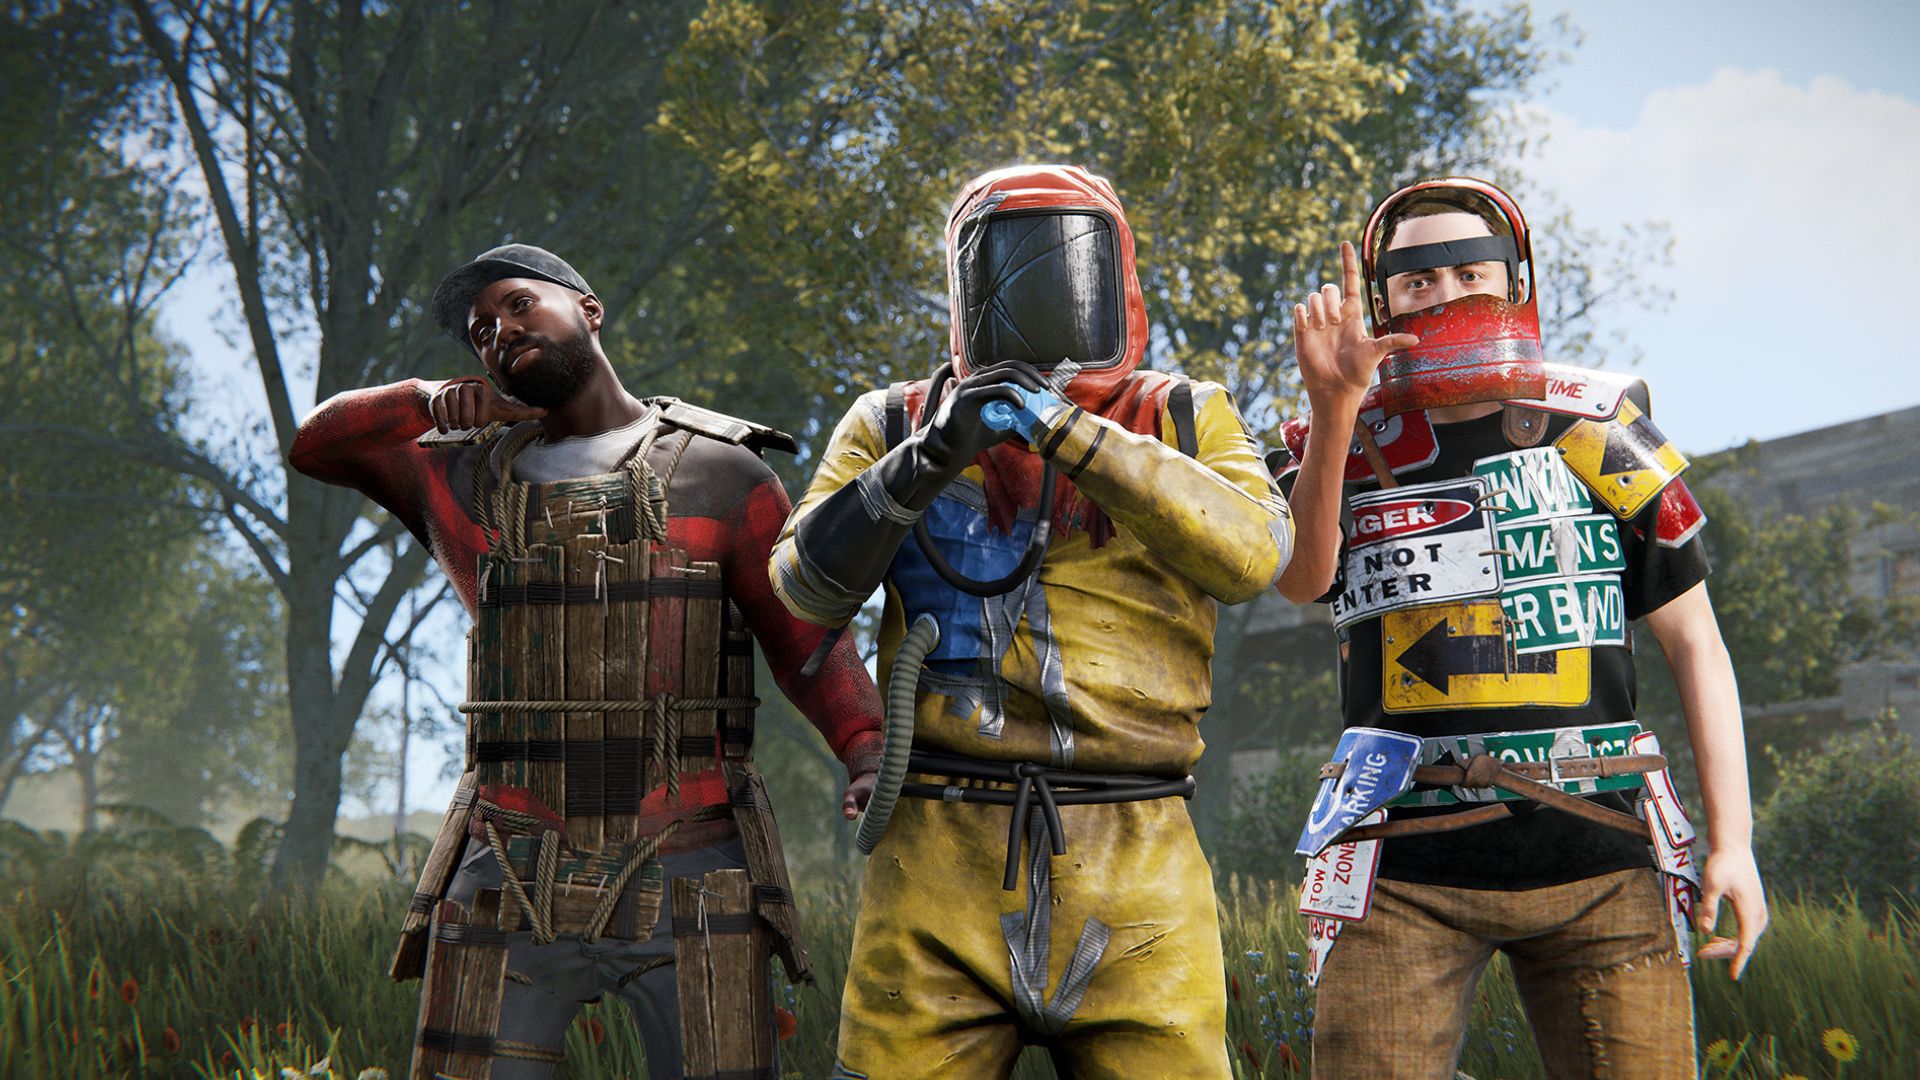
One of the beautiful things about Rust that's been critical to its success is the Rust modding community. Unlike most game developers, Facepunch is very open and allows its community to earn money from its game. This has attracted very skilled developers who have created some unique mods for the game.
Keep reading if you want to learn how to install mods on your Rust Server to enhance the gameplay and add some customizations. You will need to know some essential things first, though. Because adding these mods can either be great or be a nightmare and break your server. For a list of popular modded servers, check out our guide to Rust modded servers.
Where To Buy Rust Mods

The first thing you need to know before installing any Rust mod is where to buy it. Many pirate sites sell mods they didn't make, and Rust mods must be updated regularly. These sites also offer no support. So, if something breaks or doesn't work, you're out of luck and will lose all your money.
You don't know what you're getting or the quality of work behind the mod. That's why we only recommend buying your mods from RustMods.com.
They are quick to update their mods, have 24/7 around-the-clock support, and offer high-quality coded mods for the best server performance. Best of all, all the mods are made to be compatible with each other. Last but not least, all their Rust mods are compatible with both Oxide and Carbon modding frameworks.
What Is Oxide and Carbon?
If you are a new Rust server owner, you should learn about Oxide. The original modding framework for Rust was excellent for its time but has mainly been in maintenance mode over the years.
Carbon is a more recent modding framework still in its infancy but is already showing huge potential and gaining interest due to all the advanced features and optimizations it includes.
Oxide: The Classic Framework
Oxide is the foundation of modding and has been used for many years with Rust. It's super well-supported, with a large community and an extensive library of mods.
Oxide uses an external compiler, although it is already 12 years old, which limits its ability to improve performance and be compatible with recent coding trends.
Carbon: The New Alternative
Carbon is built using the latest version of C#, allowing for more efficient and optimized code. It features Dynamic Hooks, ensuring that mod code is only linked dynamically when required, reducing unnecessary overhead and lag. Carbon uses an internal compiler, which compiles mods directly inside the framework. This results in faster processing and fewer compatibility issues.
How To Install Rust Mods
Installation of Rust mods is pretty straightforward. Since Oxide is the most popular modding framework and usually the default framework used by most Rust hosting companies, we will write this guide assuming you are using Oxide. If you're looking to set up your own server, check out our guide on how to make a Rust server.
-
Download the Mod File: Once you've bought your mod, usually a .cs file, download it to your local computer.
-
Access Your Server's Mod Folder: Open the
Oxide/Pluginsfolder via FTP or your server's control panel. This is where all of your Rust mods will go. -
Upload the Mod File: Drag and drop the .cs file into the Oxide/Plugins folder.
-
Restart your server: After the mod has been uploaded, restart your Rust server. It will automatically detect the new mod and create all configuration files.
-
Check for Config Files: The mod will generate a JSON config file in the Oxide/Config folder. If not, type in the console o.reload [mod name]. It's case-sensitive, so make sure you type it exactly right. For example, if the Rust mod was called PermissionManager.cs, you must write o.reload PermissionManager, then hit enter. This will reload the plugin and generate any config or data files needed.
Editing JSON Files
Most Rust mods have a configuration file where you can adjust its settings to satisfy your server's needs. It will be located in Oxide/Configs. Occasionally, some changes require you to edit files in the data folder, which will be located in the Oxide/Data folder. These JSON config files and data folders are auto-generated by the mod. Here are some tips which will help you edit these files without problems:
Always Back Up Your Configuration Files
First, make a backup of the original JSON file before editing it. If anything goes wrong, you can easily revert to the default settings.
Use a JSON Checker
One common issue when editing JSON configuration files is syntax errors from missing commas or misplaced brackets. To help with this, use a tool like JSONLint. Just paste your edited file into the checker, and it will light up in red where the errors are.
Keep an Eye on the Formatting
Each key-value pair should be separated with a comma, and the entire file should start and end with curly braces . Even the slightest error could prevent the mod from loading properly.
Test Changes Incrementally
After you change something, restart your server to test whether the changes work properly. It's better to make small changes and test them incrementally than to make several changes at once.
Reload Mods to Implement Changes
You don't need to restart your server whenever you change the configs. You can just use the o.reload command we mentioned above to reload the Rust mod and have the server detect and implement the new edits you made.
Conclusion
Setting up and installing Rust mods are some of the best ways to make your server unique and offer something different from every other server. Whether it's a Rust PVE server or a crazy Battlefield 10,000x server, remember to purchase your mods from trusted sources, such as RustMods.com, and avoid cracked or pirated mods.

