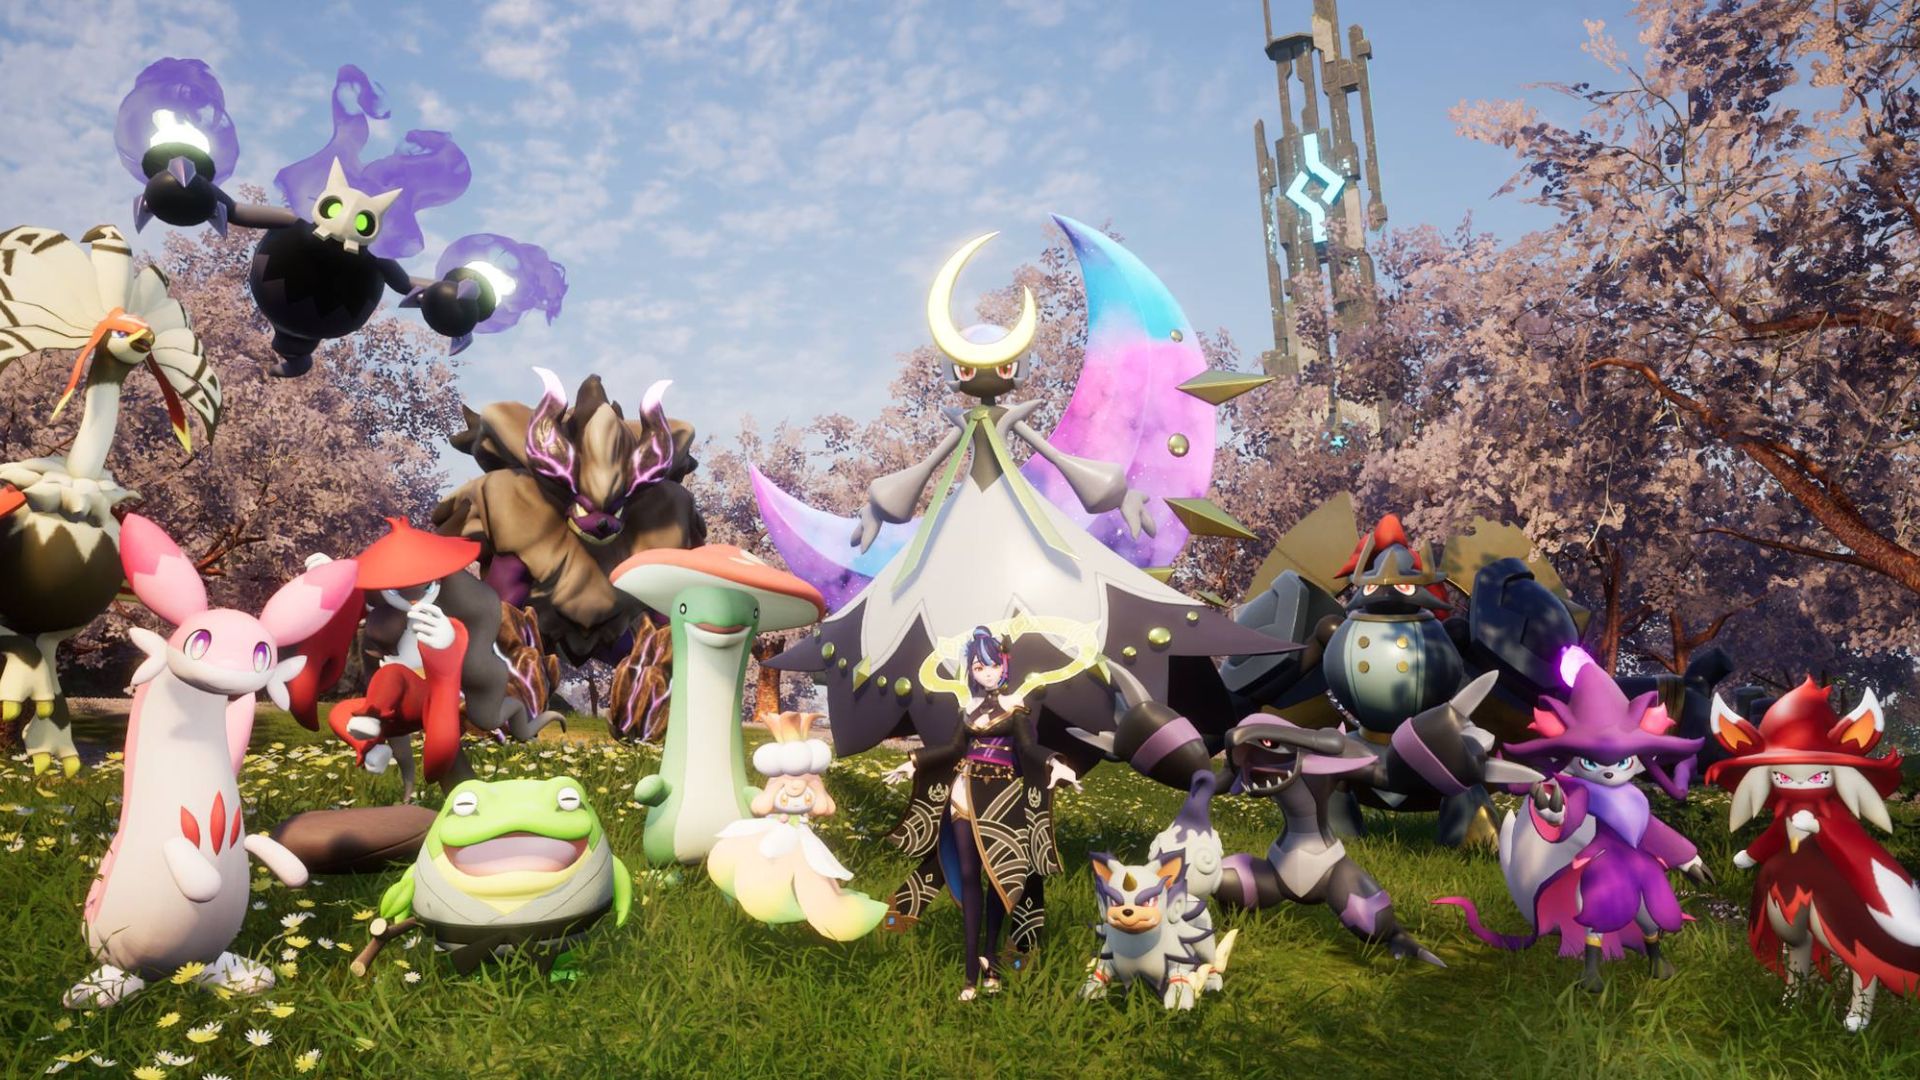
The Palworld Sakurajima update finally allows Xbox players to connect to dedicated servers. However, many players are confused about the setup process. This guide will show you how to configure your PC dedicated server for Xbox players.
Important Requirements
Before starting, understand these limitations:
- You cannot transfer existing Steam saves to Xbox without losing progress
- Your server must have
-publiclobbyin the startup command - You cannot connect using an IP address
- There is NO cross-play between PC and Xbox players
How to Configure Your Palworld Server for Xbox
Follow these steps to configure your server for Xbox:
-
Stop your Palworld server.
-
On your Palworld server, navigate to
/Pal/Saved/Config/WindowsServer/PalWorldSettings.ini -
Look for
AllowConnectPlatform=Steamand change it toAllowConnectPlatform=Xbox -
Set a unique name for your server under
ServerName(Example:ServerName="Ghostcap Xbox") -
Start your server.
How to Connect from Xbox
- Select
Join Multiplayer Gamein the Palworld menu - Choose
Community Servers - Search for your server name in the search box
- Select your server to connect
Note: It may take a few minutes for your server to appear in the browser. If your server doesn't show up, check our guide on Palworld server not showing in community server list.
Conclusion
Your Palworld server should now be joinable from Xbox clients. If you're looking for a hosting provider, check out our list of the best Palworld server hosting providers. If you get stuck at any time, come get some help from our friendly Discord community.


